
For the 5th entry in our Brew Day Log series, we headed over to the Bereta brewery on July 23rd to document the making of… something unorthodox. Admittedly, our main reason for visiting Timișoara was doing an impromptu pub crawl, but we’ve always wanted to see Bereta in action, so we combined the two. When we told Adi we were dropping by, he told us that he’d be brewing something that would probably make Josef Groll turn in his grave, and man alive, we were not prepared for what he had in mind. We’ll let the recipe speak for itself.
Where Is Your God Now? stats:
- Style: Double Dry Hopped Triple Fruited Milkshake Oat Cream Vanilla Maple Syrup Imperial Sour… Pilsner
- Grain bill: Lager Malt, Flaked Oats, Flaked Wheat, Oat Malt, Acid Malt
- Fruits: Apricot Puree, Fresh Blackberries, Pineapple Puree
- Hops: Mandarina Bavaria, El Dorado, BRU-1, Mosaic, Cashmere
- Yeast and bugs: SafLager W34/70, WildBrew Sour Pitch
- OG (original gravity): 1063
- FG (final gravity): 1010
- pH: 3.41
- ABV: 7%
For some time, the Bereta motto seems to be ‘When in doubt, lactose it up, and then sprinkle some vanilla on top for good measure. Then sour it. Then dry hop the bastard until it thinks Lupulin is its real name.’ Of course, it’s easy to assume that Bereta are doing to beer styles what entropy is doing to the universe, yet there’s always a plan behind this seemingly shambolic callousness. There’s a quote we recently came across that perfectly explains it:
“We may think of styles as the framework to which breweries conform, but it’s the opposite: breweries make the beers that we then lump into styles.” (Jeff Alworth)
Coincidentally, that’s exactly what Josef Groll did when he headed down to the brewery one October morning in 1842. Nearly two centuries later, the Bereta boys decided to deconstruct the wheel, because they can, and because rattling cages is fun when you’re a craft brewer. In fact, Where Is Your God Now? is part of a trinity of unholy beers, each designed to make you question the actual meaning of beer styles. Don’t say you haven’t been warned.
On to the brew day, the last time we visited the Bereta brewery was over a year ago, when we were documenting them organizing the second edition of the Timișoara Craft Beer Festival. And let’s just say that quite a few things have changed since. So let’s take you on a brief tour of the facilities first.
A look around the brewery
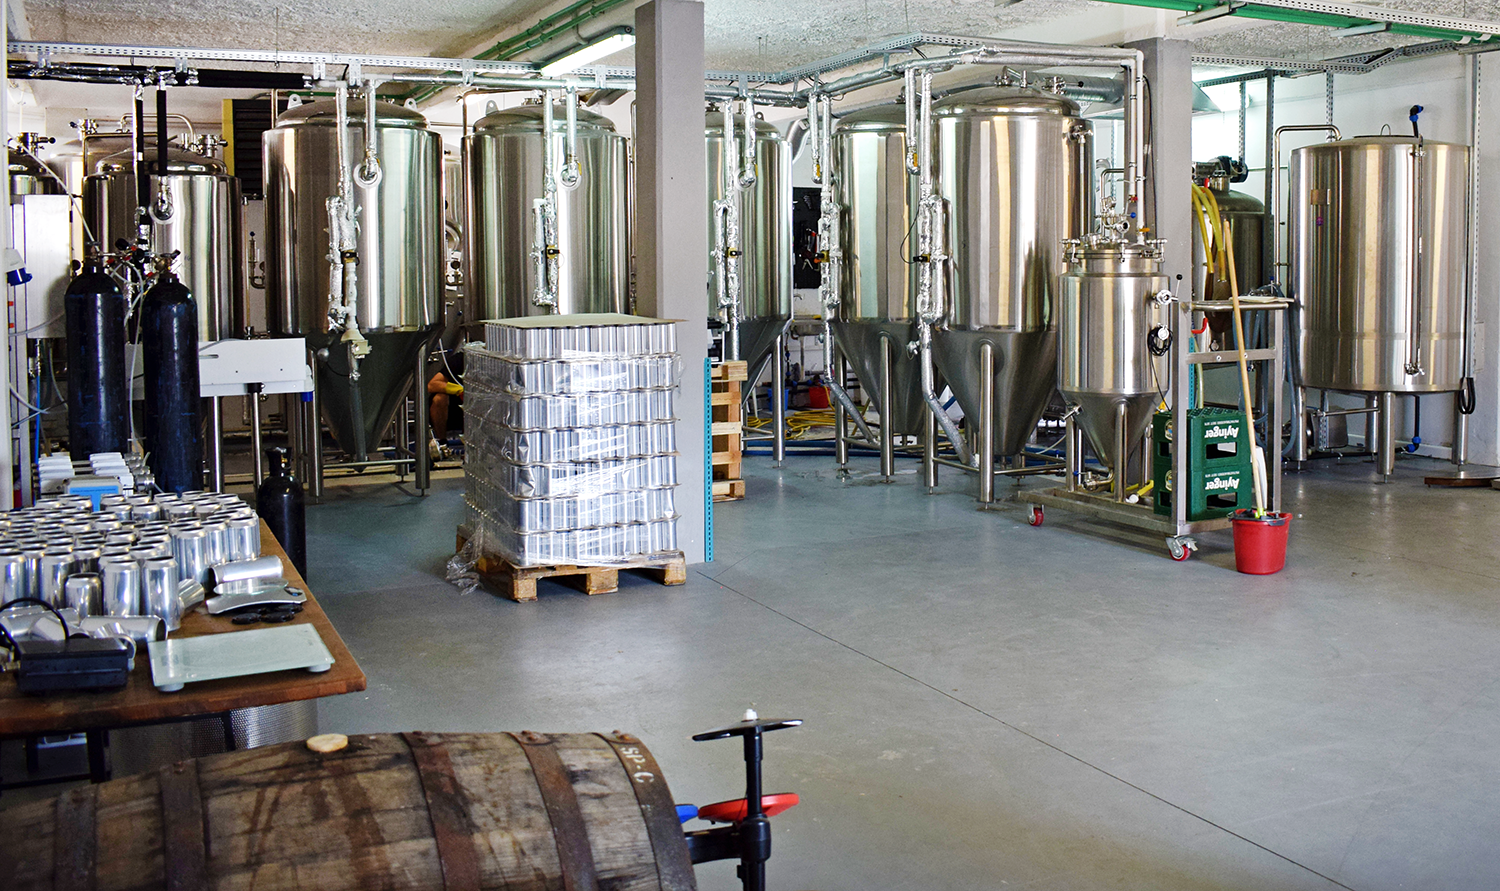
The brewery itself is very spacious as you first walk in. Or so it seems. But the further you go in, the further you get caught into a meandering maze of brewing equipment.
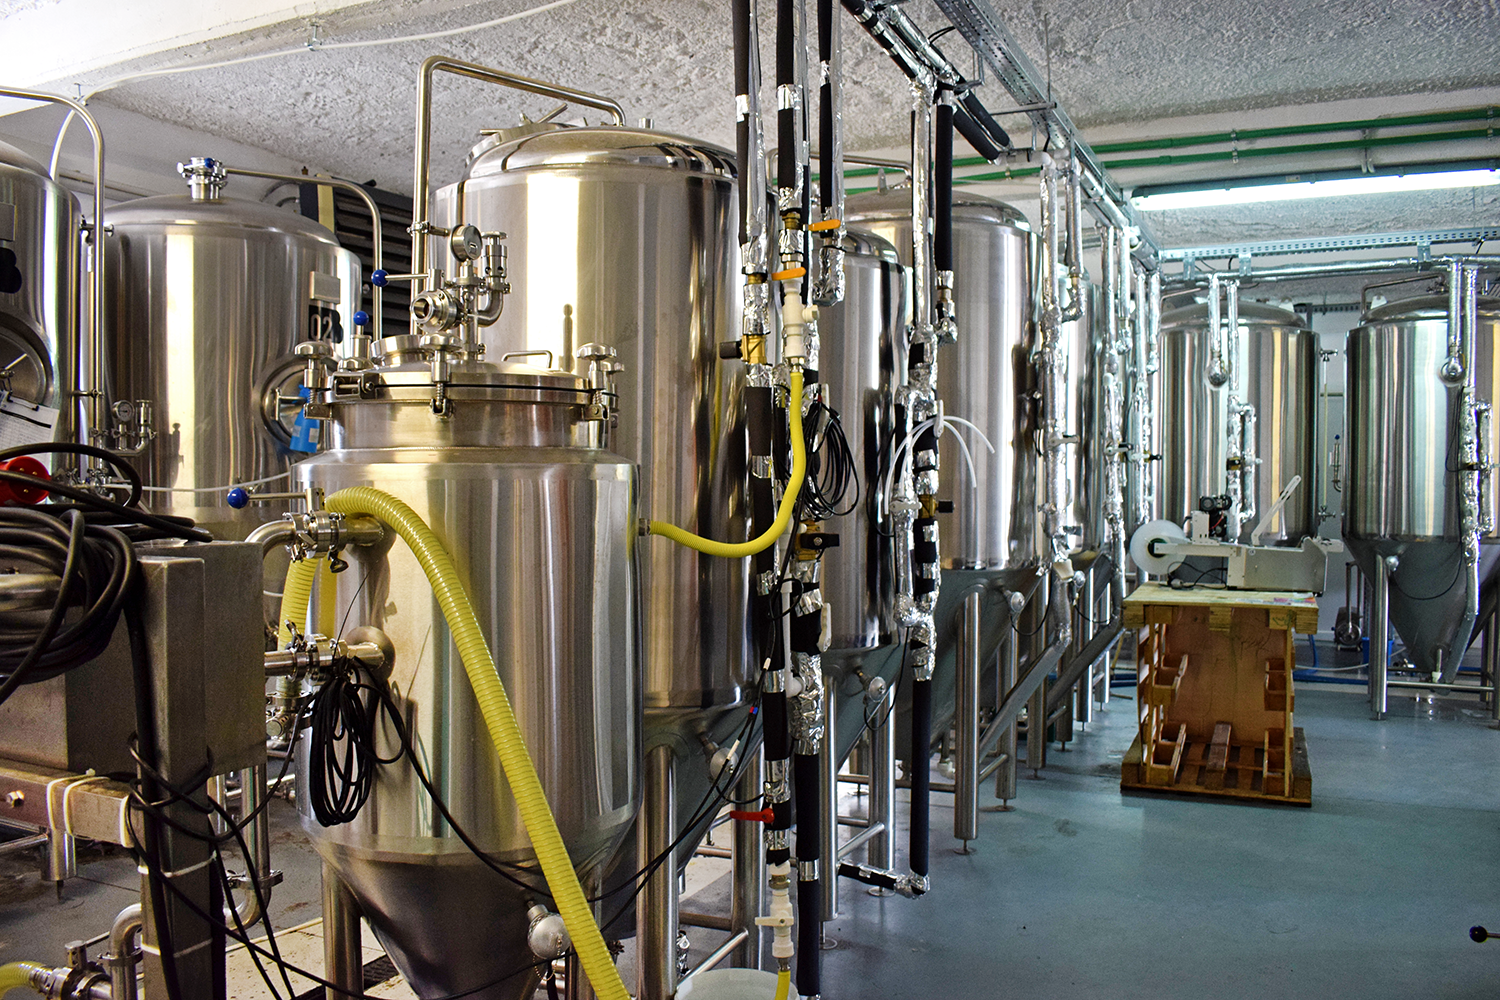
And it can feel a bit claustrophobic at times.

2019 marked an exciting year for Bereta, especially after they took Owl Brewery under their wing. The brewery saw a significant expansion, with 7 new fermenters (two of which are reserved for Owl beers) added to the brewing menagerie, as well as some shiny new toys you’ll see in a bit.

The lads also have two small, 100-ish liter fermenting vessels set aside for experimental beers, such as the one-off keg blends that you’ll only find at their taproom or at festivals.

The brewhouse is a pretty typical 2-vessel system, a mash/lauter tun and a kettle/whirlpool, which allows them to brew around 800 litres of beer at a time. It’s also had a few small modifications, such as a missing plastic sightglass, which we believe was ripped off in a fit of rage. No brewery is complete without at least one wooden stick that serves a multitude of purposes – Bereta have two, and probably use them for sparring in order to decide who gets to clean the mash tun.

One of the things Timișoara and Bucharest have in common is the fact that people will casually warn you against drinking the tap water. For us Cluj folk, that always seems a bit exaggerated, but the locals seem to prefer bottled water here – or, in the case of breweries, reverse osmosis water.
The system Bereta have in place is smaller than the Hop Hooligans one, but can produce 200 litres of RO water per hour. The process itself is surprisingly wasteful, and for each liter of RO water, it creates 2 liters of mineral rich waste water. Luckily, the lads don’t let it go down the drain, and the waste water is collected in vats outside the brewery, which are picked up and used by a local chicken farmer.

More beers with ominous names. As a side note, we’ve seen so many breweries doing barrel aging this year that we’re beginning to think that if, as a brewer, you don’t have at least one barrel loitering in a corner of your brewery, you should reconsider your life choices. And speaking of life choices and current trends, we present you with:

The canning line! Bereta started canning their beers in April this year, and in some ways, it’s been all manner of ups and downs ever since. Here’s the thing with cans: as a consumer, they are by far the best packaging option, and we will defend this claim if it means dying on that hill. As a brewery, well, it’s a bit tricky. For starters, this canning line alone cost them more than all the brewing equipment they have, put together – that’s a massive investment. And as we’ll see in a bit, using it is not always smooth sailing.
Mandatory brewery tour out of the way, it’s time we get cracking.
9:30 – Pick up in town
After last night’s shenanigans at the Bereta taproom, meeting Adi at 9:30 in the morning is a bit of a grind. Fortunately, our apartment has a coffee machine, so we make some in a feeble attempt to look and feel more human.
Today (and pretty much every day), the brew day will also be handled by Levi (not to be mistaken for Little Levi, who is Adi’s kid). Big Levi has been brewing with Bereta for almost a year, having left a steady job working for his father doing metalwork. As we drive to Giarmata, where the brewery is, the lads are remarkably chipper compared to our hungover asses.
10:05 – Arrive at brewery
We roll up at the brewery just as it’s gone ten. For most, this would be a pretty late start for a brew day. However, today we’re making a kettle sour, so the brew day itself will be much shorter than normal. Not only that, but this log will skip on some stages you’re used with, such as adding hops, chilling and transferring to the fermenter, or cleaning the mash tun. But more on that later.
10:10 – Cleaning the brewhouse
There’s no rush to get the brew underway, so Levi and Adi start off by giving the brew house a deep clean. They typically brew 2 or 3 times a week, and give the entire system a wash at the end of each week with a hot caustic mix. This ensures no grime can build up, and keeps the equipment looking shiny and good to go. They recirculate the caustic around the system for around 30-minutes before thoroughly rinsing it out.

10:45 – Silviu has entered the building
While the lads are cleaning and we’ve been snooping around the brewery, Silviu sneaks in. He’s holding some kind of tool that kinda looks like a hydrometer, but shorter and a bit weirdly shaped. Excited, we ask what it is. Alas, it’s just a tool to measure the density of the glycol that they use for chilling the fermenters. They’ve had problems with it freezing every now and then, so need to check if the consistency is correct. There’s never a dull moment in the brewery, which leads us to…
11:05 – Sample some sours
As Levi finishes rinsing off the brewhouse and setting it up for today’s brew, Adi treats us to a couple of samples from the fermenters. Bereta make quite a few sours, and we’ve always wondered what the base beers taste like before they’re given the standard fruity treatment. Luckily, we’re at the brewery at just the right time, and get to sample one. The unadulterated kettle sour, straight from the fermenter, is simple yet still lip-smackingly tasty, though it will grow up to be something more interesting in a few weeks.

As we peruse the brewery, waiting for the strike water to reach the right temperature, we’re chatting with Adi about how the brew day normally goes down. Him and Silviu split the various responsibilities of running the show between them. Adi generally takes care of the brewing side of things, designing recipes, overseeing the brew day, etc., while Silviu is in charge of paperwork, orders, and so on. Meanwhile, Levi fills in the gaps and handles a lot of the actual brewing and subsequent cleaning.
11:40 – Mash in
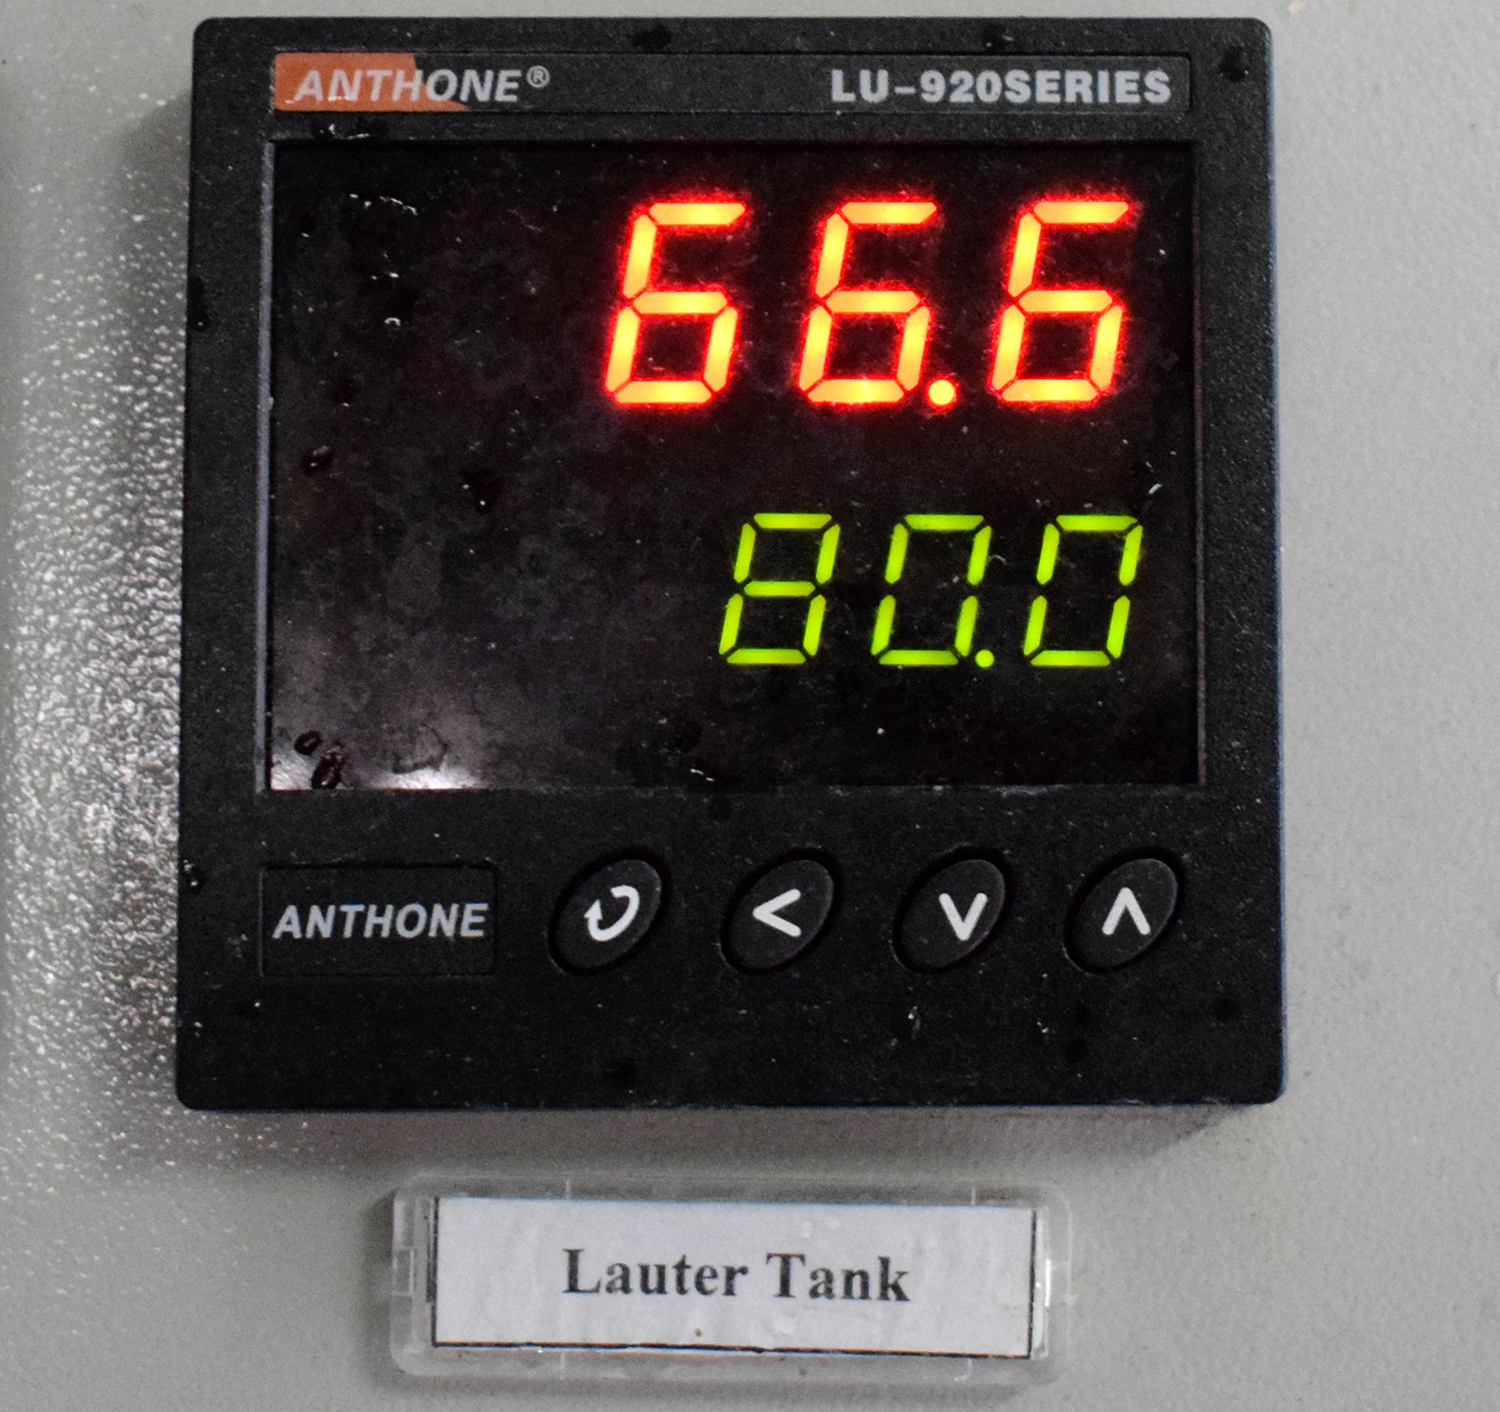
After an hour and a half, we’re finally ready to mash in. Adi prints off the freshly written recipe, Levi grabs the malts they need and away we go. Bereta uses milled-grains, saving a lot of time and mess by not having to mill everything themselves. The strike water has to hit the mash tun at the right temperature, as they have no way of heating it once it’s inside. It’s a balancing act of accounting for the temperature drop from the hot liquor tank to the mash tun, plus the further drop in temperature as the grains are added. But these fellas have had plenty of practice to get it right and these days they manage to hit their desired mash temperature each time.
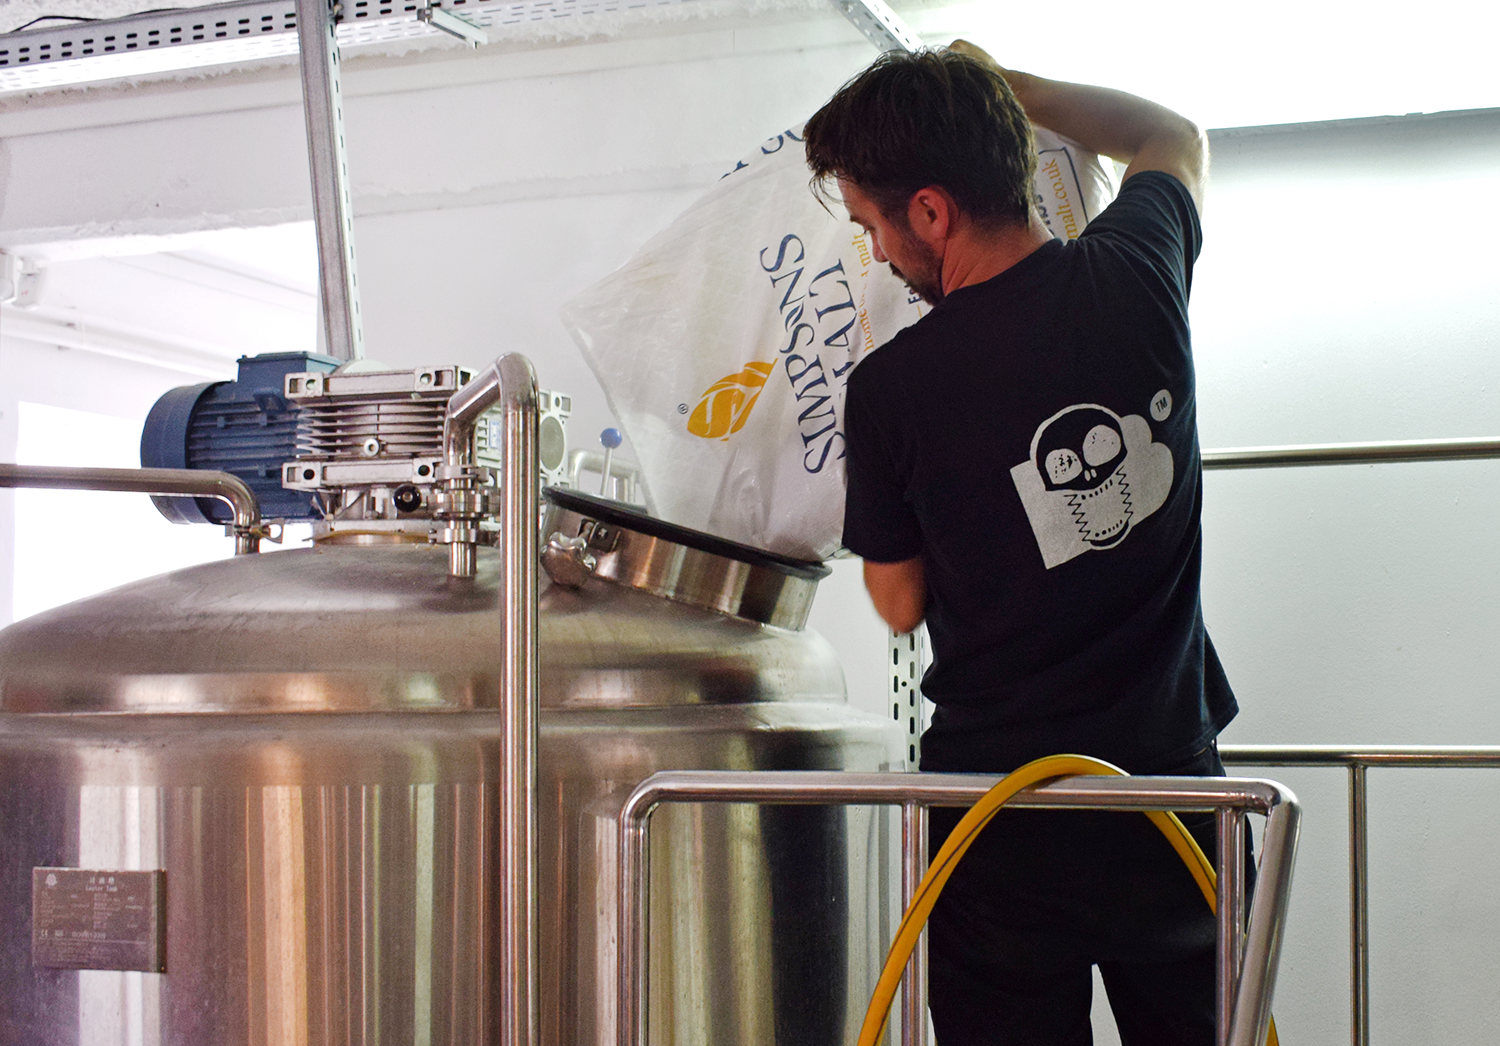
As the malts are added, the water treatments go in. Since Bereta use RO water, they have a blank canvas to play with. However, for this brew they’re keeping it simple, adding just gypsum and calcium chloride, and a touch of acid malt. Normally, they’d add more, but we’re gonna extrapolate and say they’re using a soft water profile to match the pilsner style they’re going for. The grains and water are added bit by bit to help mix everything up, though Adi will still get in there and stir everything manually from time to time, or spray it down with cold water if it looks as though it’ll be too hot.
11:55 – Check pH
After 15 minutes of mashing, the lads take a sample and quickly chill it down in order to measure the pH. Doing it earlier in the mash gives a more accurate reading, and allows them to add any additional treatments if necessary. At 5.46, we won’t need to do that today, and can just let the mash do its thing for the next hour or so.

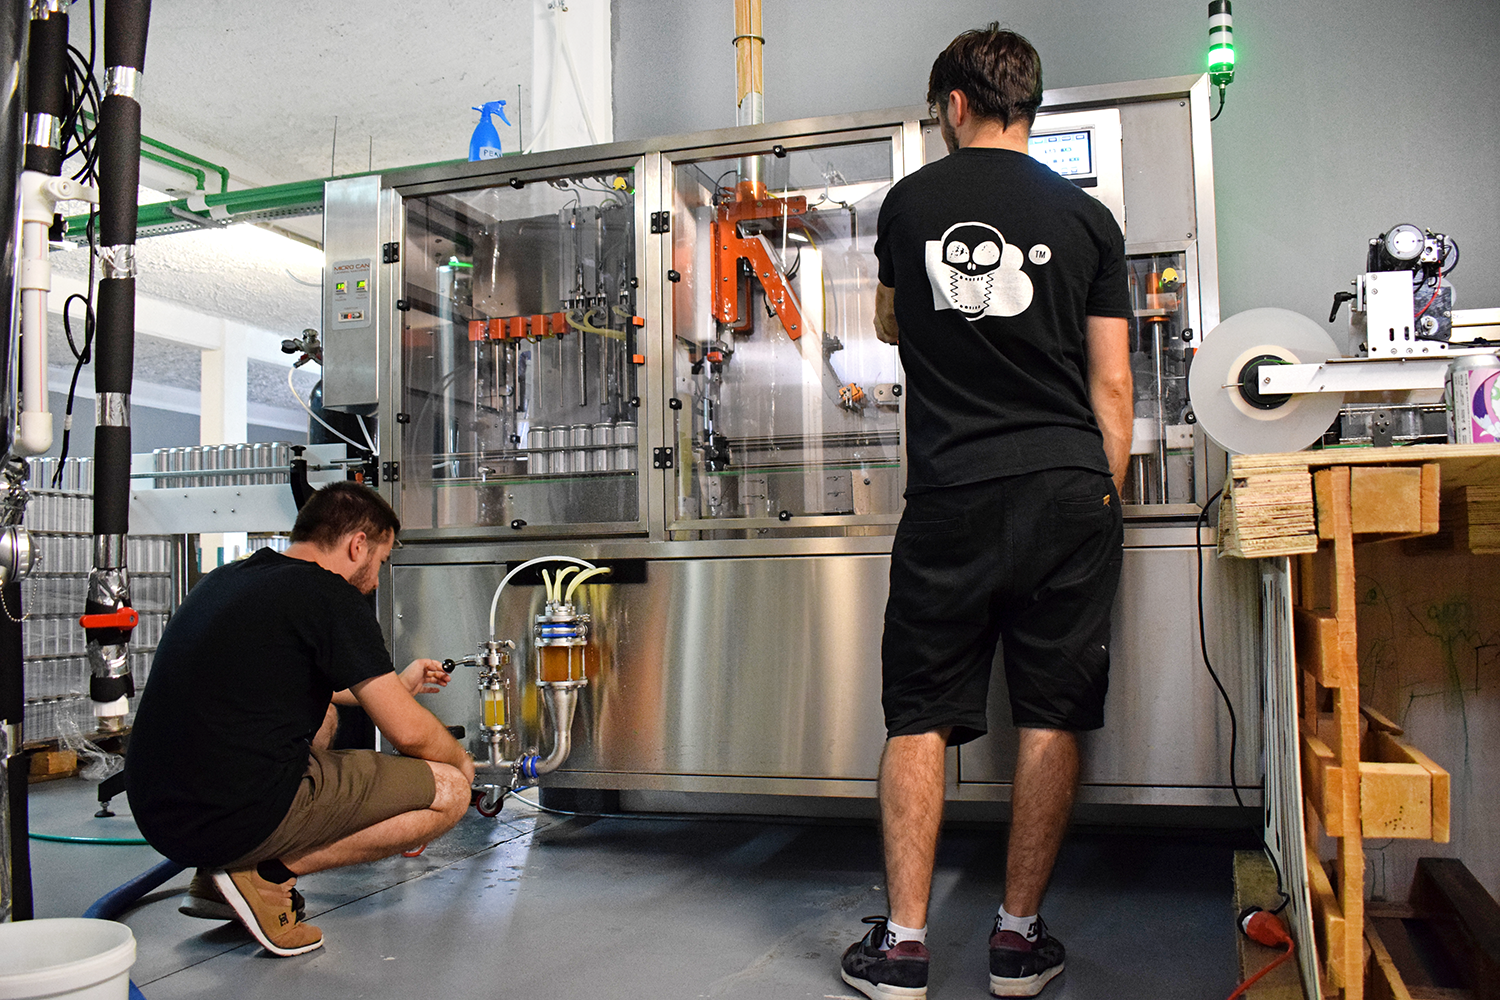
12:05 – Set up the canning line
At Bereta, the brew kind of runs in the background, while the lads take care of the multitude of other tasks that demand their attention. Today, they’ll also be canning the latest batch of Ai Pi Iei.

Levi already flushed the machine with sanitizer, but it still needs to be calibrated and set up. Adi takes care of this, and after hooking up the hoses and dabbling with the pressure, he gives it a test run.
After a few underfills, it seems that we’ve hit the sweet spot. Adi offers us one of the fresh cans, so we take a short break for some fresh air and fresh beer before jumping into the task of canning a few hundred litres of IPA before the day is up.

12:30 – Start canning
After chilling out in the sunshine, drinking beer and asking probing questions, we head back to the canning line. This bad boy certainly looks the part, and it purges oxygen, fills, seals the lids, and washes the cans all in around 30-seconds per round. The labels are applied on a separate machine, before the beer is packaged up and ready to go.
In theory at least. What was working wonderfully before soon starts to misbehave (and no, it wasn’t Levi).

According to Adi, the canning line is fantastic with their juicy beers that have very little carbonation, but it struggles with more carbonated beer. Ai-Pi-Iei falls into the latter camp, and we’re beginning to see the problems he was talking about: the cans are extremely foamy, and while you may get a couple of perfect rounds, it doesn’t last long before they’re underfilling again. Adi and Silviu tweak the pressure on the tank, adjust the parameters on the canning machine, but to no avail. Even at a tank pressure of around 0.2 bars, it’s coming out too fast and foaming up too much to properly package (as a comparison, when bottling, the tank pressure is typically at around 1.2 – 1.5 bars).
In the end, it looks like they risk losing more beer than they actually package, so they shut the canning line down, clean it up, and switch to kegging instead.
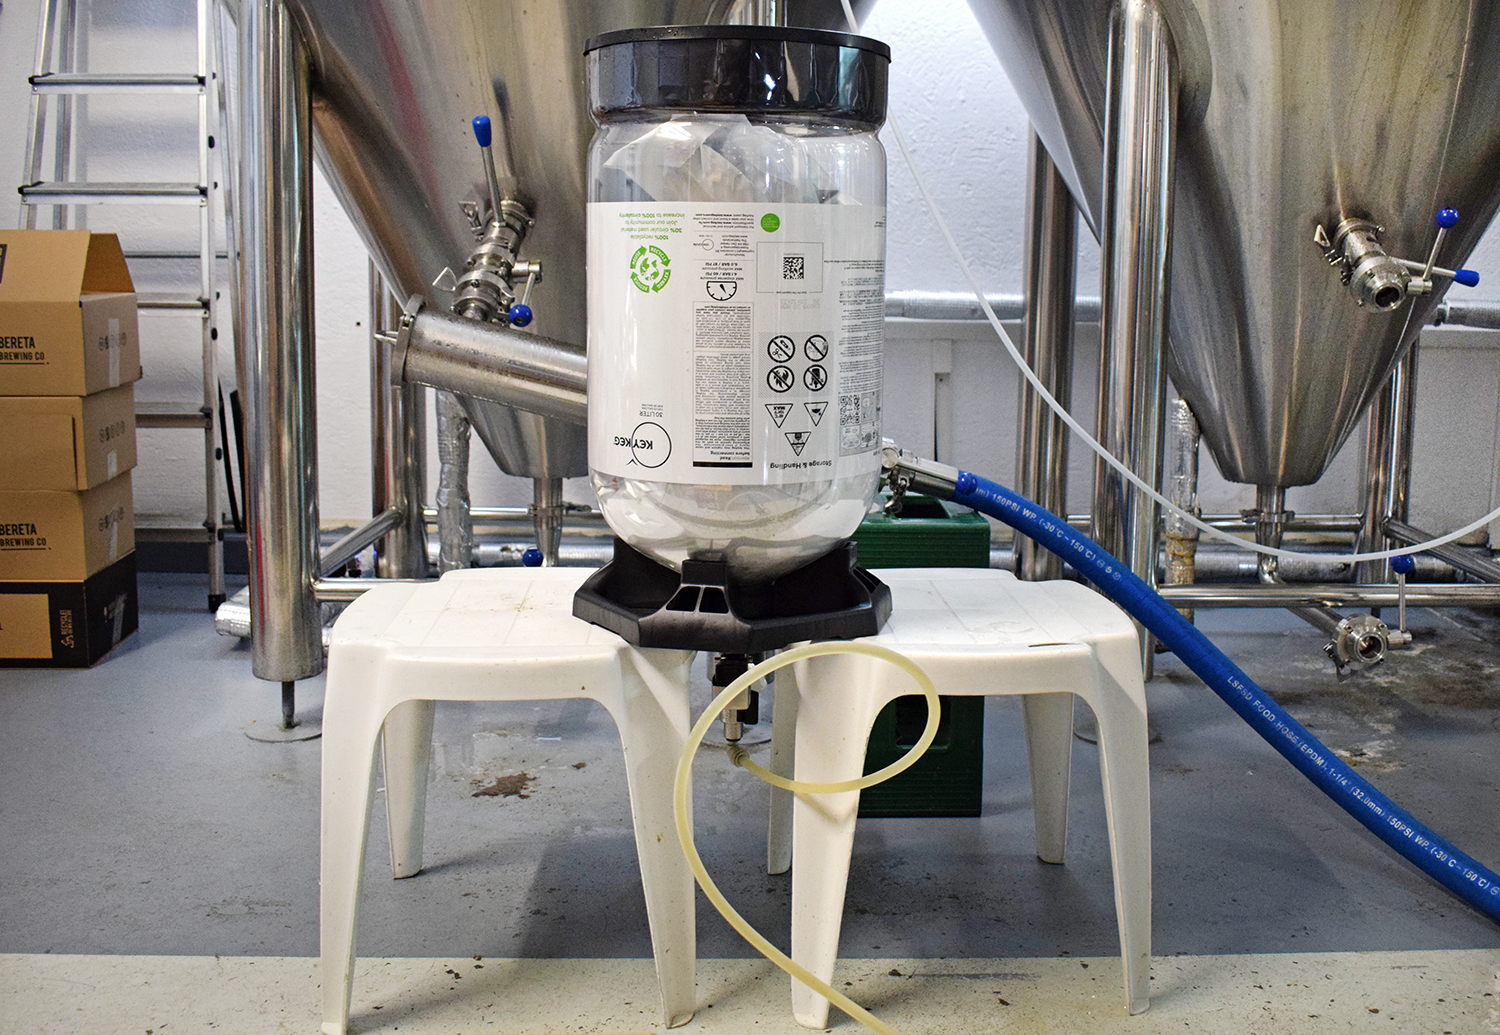
If you’re wondering why this bugger is upside down, it’s because it’s a KeyKeg. These come with an array of benefits over other kegs, and work in a slightly different way, in that the beer is stored in a bag, which is then squeezed from outside until every last drop is poured out of the tap. Since they don’t have a spear that sucks the beer from the bottom, it’s easier to fill them upside down to prevent foaming.
13:10 – Transfer to kettle starts
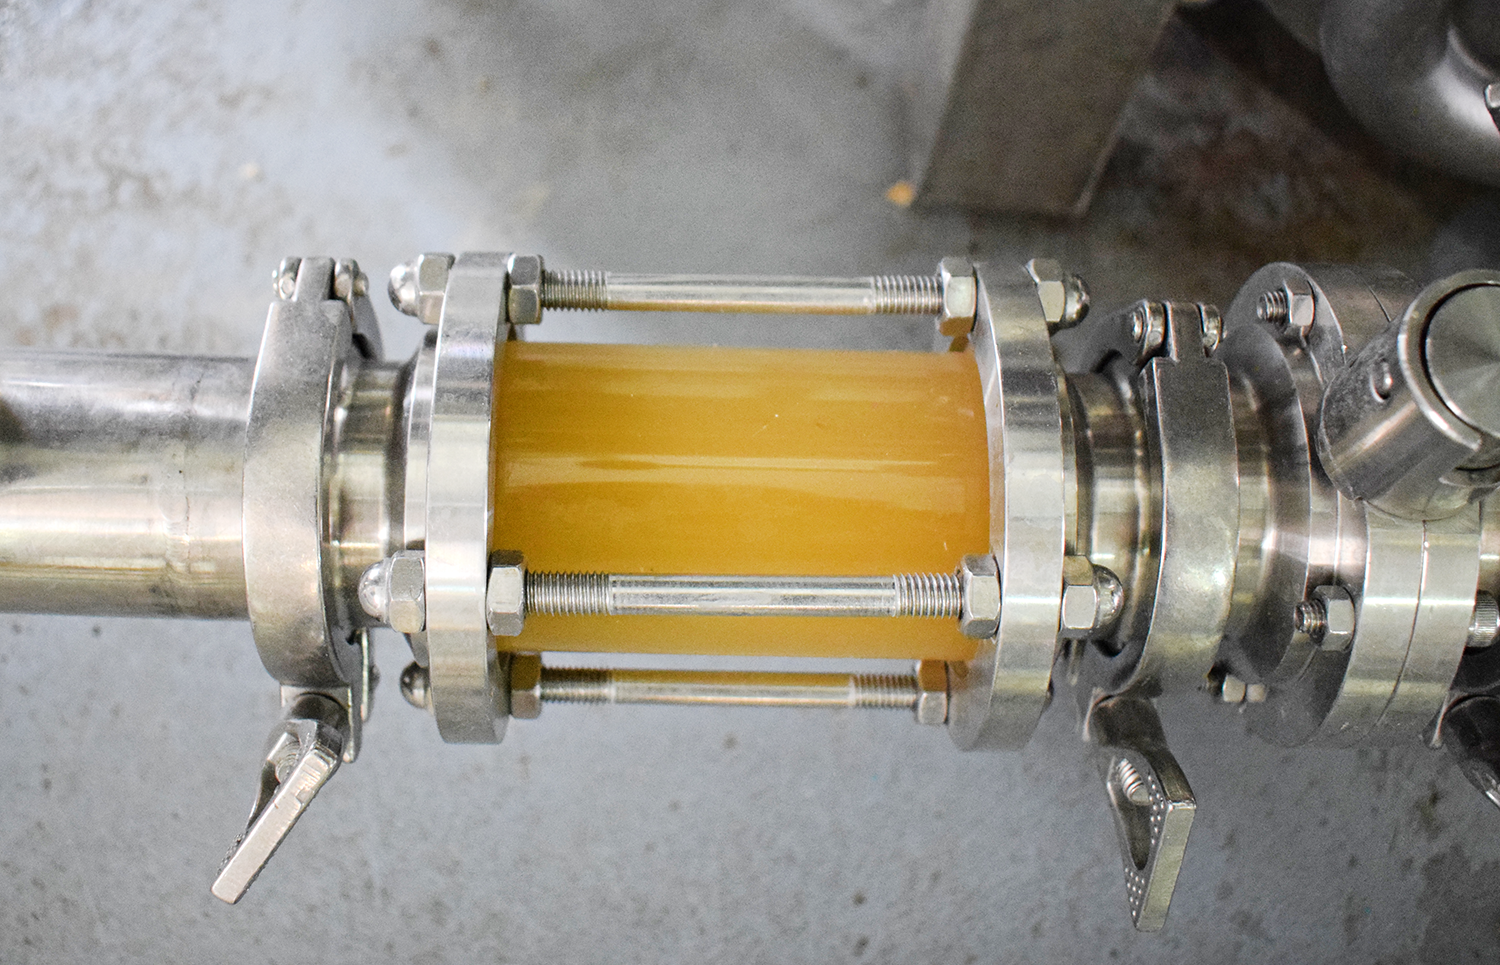
After the excitement of canning, we return to the mash tun to start the transfer to the kettle. First, the lads recirculate the wort in the mash tun until it clears up.

Once it’s running clear, they switch the valves and start pumping it into the kettle. They filter the wort through a mesh bag before it enters the kettle, in order to catch any stray husks before they can get into the kettle. Boiled husks can leave an astringent off-flavour in the finished beer, so it’s best to pick them up if you can.

13:20 – Start the sparge
The guys at Bereta slowly transfer the wort from the mash tun to the kettle. It could go faster, but in doing so they’d risk compacting the grain bed and getting a stuck sparge, which basically means the wort cannot pass through the grains. The other benefit to a slower transfer is that you extract a lot more sugars from the grains during the sparge.
They’ll sparge this batch with around 500 litres of sparge water, which is slowly trickled onto the grains. This prevents the water making channels in the grain and passing straight through without picking up sugars.
13:30 – Beer delivery from Bucharest
The transfer can now be left to its own devices, Levi just needs to keep an eye on the amount of sparge water that has been used. As such, now is an ideal time to receive a pallet of beer from Bucharest.

The beer (and cider) is destined for the Bereta taproom, and it’s immediately put away in one of the three cold stores in the brewery – yep, these guys take cold storage very seriously (as we all should, really).

While waiting for the transfer to finish, we busy ourselves tuning little Levi’s guitars – there’s a few of them dotted around the brewery, enough to keep us occupied. In the meantime, Adi also nips out to deliver some beer and (hopefully) return with some food.
15:20 – Transfer end
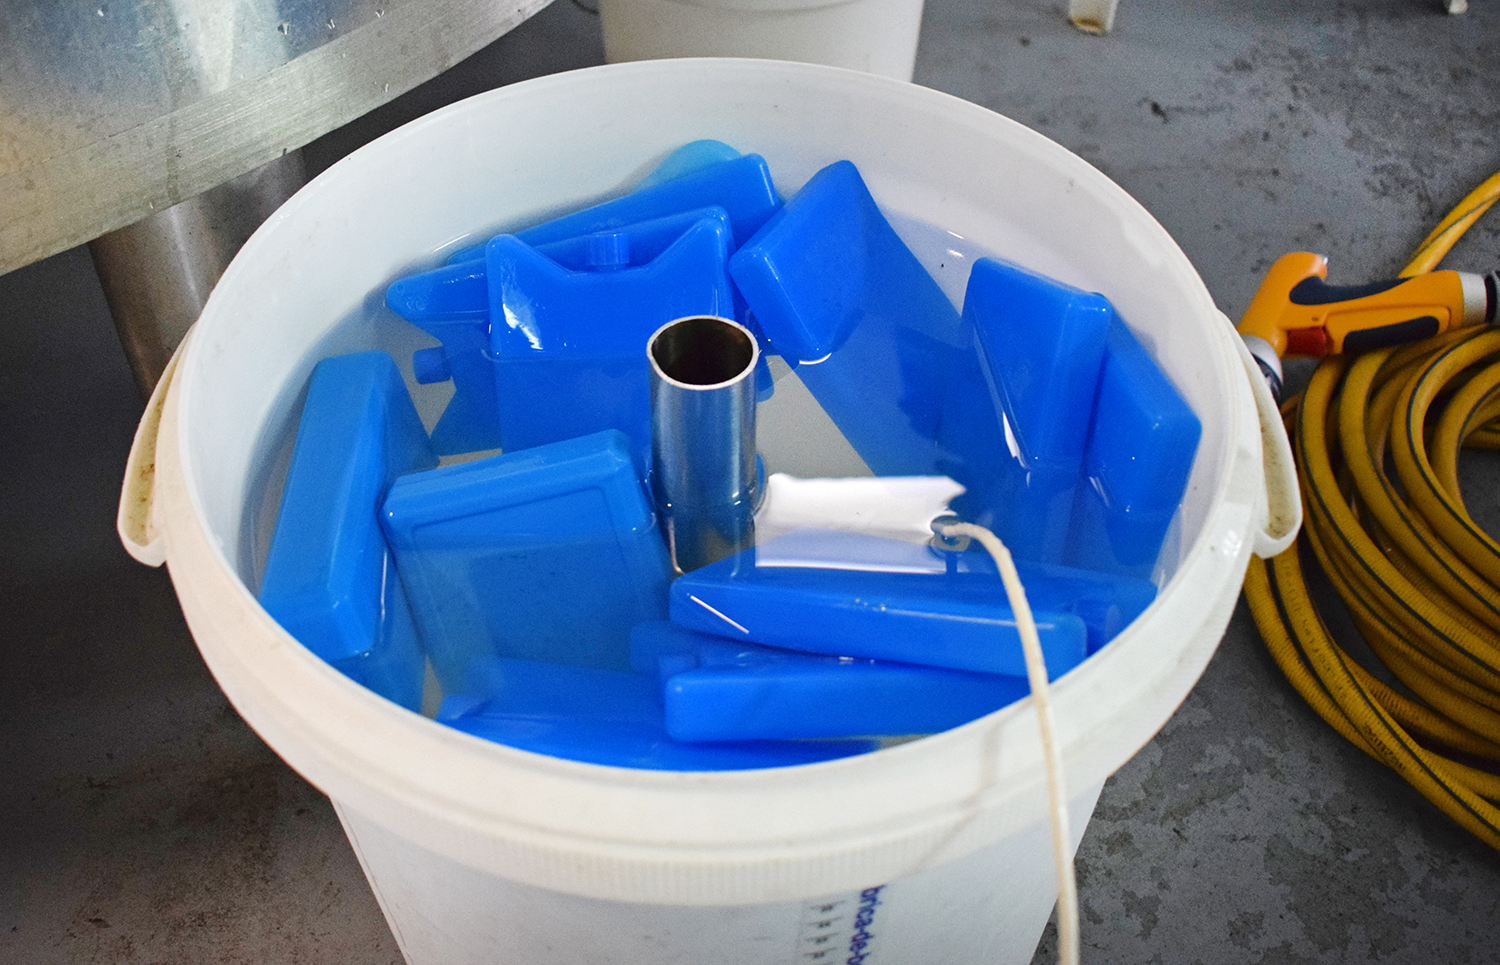
Just over 2 hours after the transfer started, the end is nigh. Levi has collected the correct amount in the kettle, and he’s checking the gravity to be sure we’re on target. They use a clever ice bucket trick to cool a sample down to temperature quickly, so that they can take accurate readings without relying only on a refractometer.
15:30 – Bring the gravity down
With a gravity of 1059, it’s a little over the target of 1053. Luckily, there’s space for more liquid, so Levi adds water to bring it down. Within 20 minutes or so, the gravity is down to 1054, and there’s no more room to add any more liquid to the kettle without risking a big boil over. Right now, the temperature is at around 95.5°C, as the wort was heating up during the transfer. The element was set to switch off automatically at this temperature to prevent the wort from boiling before the full volume was reached. Now that we’re there, Levi switches both elements on to quickly bring it to a boil.
15:55 – Boil begins
With a hose at the ready, Levi stands over the kettle as it begins to boil. He switches one of the heating elements off to prevent it from going crazy, and only has to hose down a little bit of foam before it stabilizes.
Traditionally, we might add hops in at this point, but there’s no place for them in a kettle sour until after the wort has soured – hops have antibacterial properties and will kill off the Lactobacillus before it can do its thing. But when brewing a kettle sour, you only need to bring the wort to a boil to sterilize it, killing off any bacteria that might be lurking. It’ll boil for around 15 minutes, before being cooled down again.

16:05 – Adi returns with gifts
Adi comes back mid-way through the boil armed with some green tea and pizza. The tea is going into the birthday brew for a particular online beer vendor who turned 5 this year, along with some lemons, vanilla, and mandatory lactose. There will be no pizza going into any beers in this episode, so we happily tuck in.

16:10 – Boil end, chilling starts
After 15 minutes, the heating elements are switched off. You won’t see a single hop today, no whirlpooling, or anything like that. Instead, we’ll drop the temperature of the wort down to 38°C. This is the ideal temperature for the Lactobacillus culture to thrive and start souring the beer. To chill the wort down, it’s pumped through the heat exchange and back into the kettle. Both water and glycol flow through the other side of the chiller to drop the temperature as fast as possible.

16:15 – Hydrate Lactobacillus
While the wort is chillin’, Adi grabs a flask, fills it with chilled wort and adds in the sour pitch – dried Lactobacillus plantarum. This works in a similar way to making a yeast starter, and not only hydrates the lacto and ensures it will mix in the wort, but also allows it to start working away before it’s pitched into the kettle.

16:35 – Check wort pH
While the wort continues to drop in temperature, another sample is taken to check the pH. It still reads 5.46 at the moment, but the lads will hit it with some lactic acid to drop it to between 4.2 and 4.8. This creates a more friendly environment for the Lactobacillus, saving time, avoiding off-flavours, and improving head retention.
16:50 – Trouble brewing
The wort is almost at the right temperature, but the day is not free of unplanned excitement just yet. In fact, it looks like the lads might be asking themselves ‘Where is our god now?’ in a bit: we’re running pretty low on water.

Bereta use their RO water in the heat exchange, before it’s returned to the hot water tank to be used in the next batch of beer. The maximum amount that they can store is 1,000 litres at a time, and sometimes this isn’t quite enough to completely chill the wort to the correct temperature. If they run out, they’ll need to pause the whole process for at least an hour as the tank refills.

Luckily, both holy and unholy deities are on our side today, so we manage to get the temperature right down with around 100 liters of RO water to spare – praise be!
17:00 – Temperature reached & Lactobacillus pitched
Adi hooks up a CO2 line and forces the wort that is in the heat exchange and hoses back into the kettle. Not only does this prevent waste, but it also helps to purge the kettle of oxygen. At this point, you want to reduce the oxygen in the kettle as much as possible and replace it with CO2. This can prevent mold growth during the souring stage, and keep other nasty bacteria out.
He then pitches the Lactobacillus, gives it a quick mix, and then adds more CO2 into the headspace of the kettle. Once he’s happy that there’s no oxygen left inside, the lid is sealed shut.

Now the wort will stay in the kettle while the Lactobacillus does its work. It’ll take around 4 days to reach the desired pH. The lower the pH, the more sour the beer will be, and brewers typically shoot for anything between 3.3 and 3.7.
17:05 – Done
And with that, we’re pretty much done. Adi has to head out to pick up little Levi, so we grab a lift with him, making this the first brew day that we didn’t see the mash tun getting dug out. Big Levi will take care of that over the next hour or so though, so it’s in good hands.

Over the next 4 days, the guys will monitor the temperature and try to keep it at a consistent 38°C. After 4 days, they’ll bring it back up to a boil, and from there it’ll be treated as any other brew. Hops will be added, it’ll be chilled down and transferred to a fermenter where the yeast will be pitched, followed by fruit additions, hops, lactose, more hops, more fruit, until it will turn from sour wort to delicious sour beer. After that… well, looks like we’ll have to grab a can of this monster beer and see.
It’s been an interesting brew day for sure, and we’re glad to finally be able to share it with you. Now go out there are give this bad boy a try! And don’t worry about what Josef Groll would say. He’s probably trying to negotiate his way out the pearly gates as we speak, to get his hands on it. Check it out!

